快速开始
Feat Core 服务端适合需要直接操作 HTTP 协议、精确控制每个字节,或者希望从零开始理解 Feat 服务端模型的开发者。
如果你希望用更接近 Spring Boot 的注解式开发体验,建议从 Feat Cloud 快速开始 开始。
编写第一个应用
Section titled “编写第一个应用”你将构建一个最小的 HTTP 服务,访问 http://localhost:8080 返回 Hello Feat。
前置要求:JDK 8+、Maven 3.0+、curl 或浏览器
1. 添加依赖
Section titled “1. 添加依赖”在 pom.xml 中加入:
<dependency> <groupId>tech.smartboot.feat</groupId> <artifactId>feat-core</artifactId> <version>${feat.version}</version></dependency>2. 编写服务
Section titled “2. 编写服务”创建 HelloFeat.java:
import tech.smartboot.feat.Feat;
public class HelloFeat { public static void main(String[] args) { Feat.httpServer().listen(); }}关键点:Feat.httpServer() 创建服务,.listen() 启动监听。
3. 运行并验证
Section titled “3. 运行并验证”运行 HelloFeat.main(),访问 http://localhost:8080:
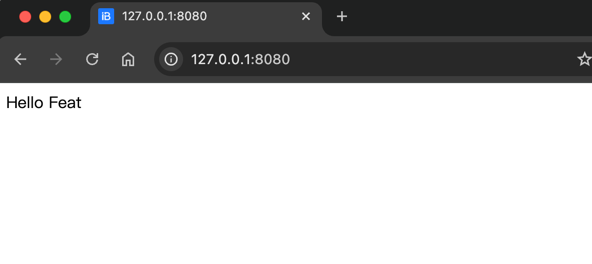
curl -i http://localhost:8080HTTP/1.1 200 OKServer: featContent-Type: text/html; charset=utf-8
Hello Feat
看到 Hello Feat 说明依赖、服务和链路都正常。
接管请求处理,返回自定义响应:
import tech.smartboot.feat.Feat;
public class HelloWorld {    public static void main(String[] args) {        Feat.httpServer()            .httpHandler(request -> request.getResponse().write("Hello World"))            .listen(8081);    }}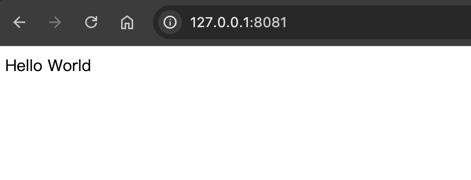
curl -i http://localhost:8081HTTP/1.1 200 OKServer: featContent-Type: text/html; charset=utf-8
Hello World
Feat Core 的模型:创建服务 → 注册处理器 → 启动监听。
下一步:配置你的服务
Section titled “下一步:配置你的服务”刚才的示例使用了默认配置(端口 8080、线程数自动等)。在实际开发中,你几乎总是需要调整这些参数:换端口、调线程、开调试、配 HTTPS…
继续阅读 ServerOptions 配置,了解如何按场景定制服务参数。