Controller 与请求处理
Feat Cloud 的控制器写起来和 Spring Boot 很像:一个类加 @Controller,方法加 @RequestMapping。但底层实现不同:路由映射在编译期生成,运行时不再反射扫描。
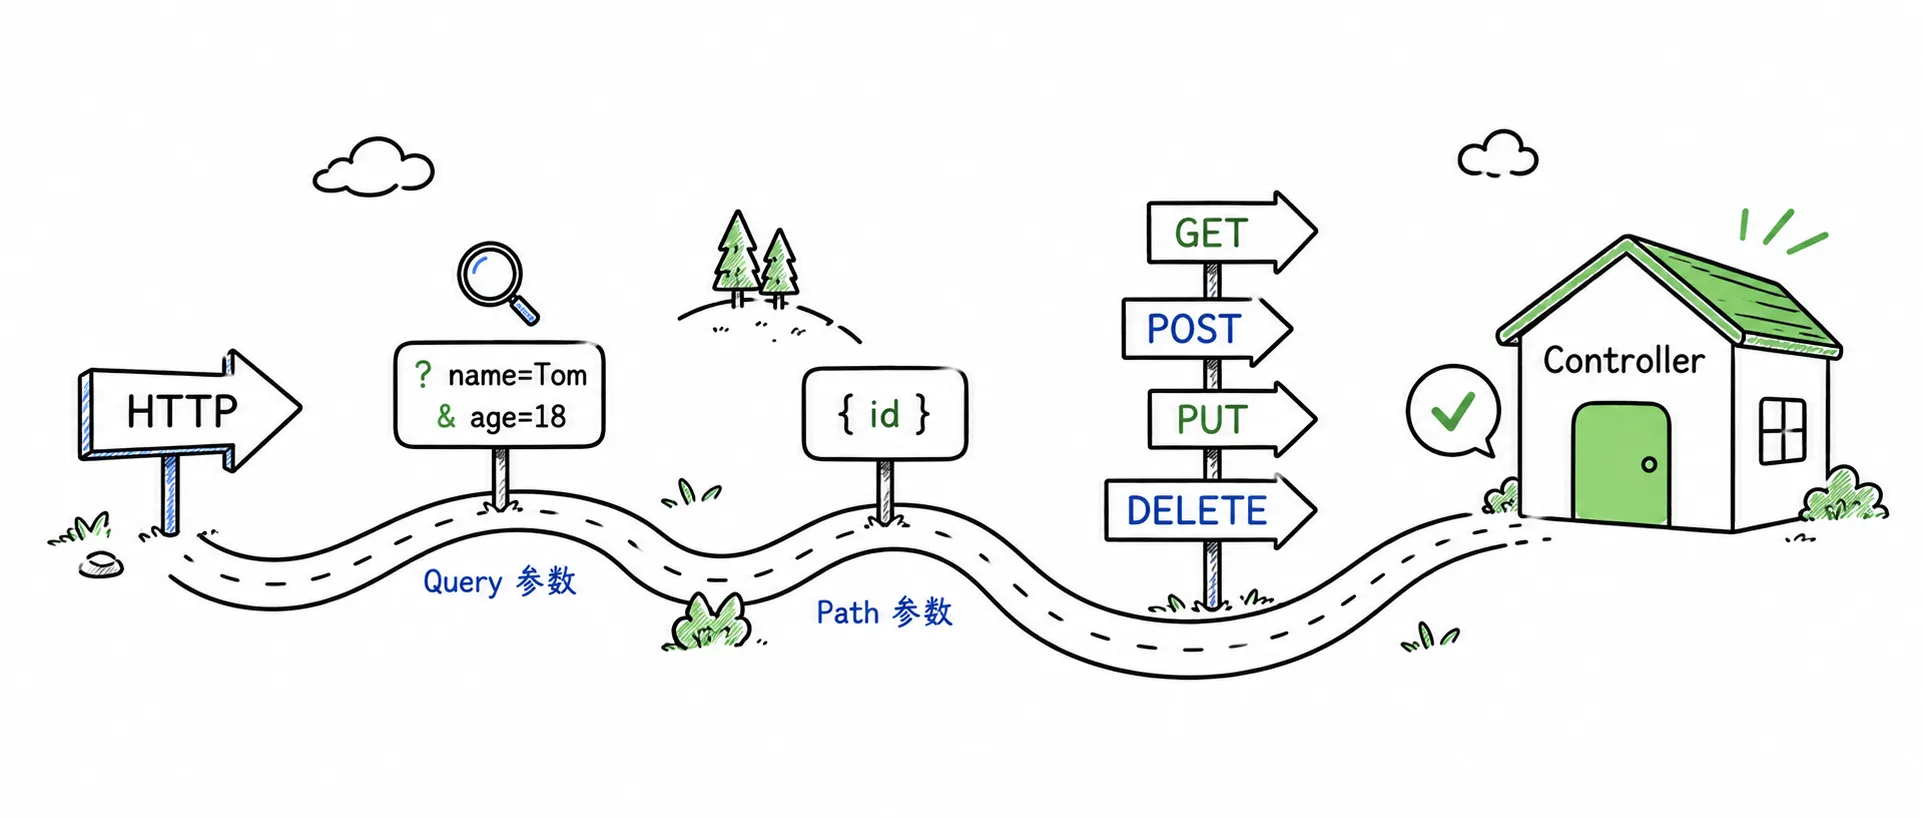
这一章集中讲 HTTP 请求进入 Controller 的完整过程:
- 先建立 URL 到方法的映射
- 再处理查询参数、路径参数和 JSON 请求体
- 最后补充少数需要直接接触运行时上下文的能力

第一个控制器
Section titled “第一个控制器”下面是一个最小但完整的控制器。它只做一件事:访问 http://localhost:8080/users/hello 时返回一段文本。
package com.example.controller;
import tech.smartboot.feat.cloud.annotation.Controller;import tech.smartboot.feat.cloud.annotation.RequestMapping;import tech.smartboot.feat.cloud.annotation.RequestMethod;
@Controller("users")public class UserController {
    @RequestMapping(value = "/hello", method = RequestMethod.GET)    public String hello() {        return "hello controller";    }}
启动应用后,控制台会输出路由注册信息:
Feat Router: |-> /users/hello ==> UserController@hellohttp://0.0.0.0:8080/验证:
curl http://localhost:8080/users/hellohello controller@Controller 的 value 属性定义该控制器下所有方法的 URL 前缀。
| 控制器路径 | 方法路径 | 完整 URL |
|---|---|---|
users | /hello | /users/hello |
api/v1 | /users | /api/v1/users |
| (空) | /hello | /hello |
基础路径为空时,方法路径就是完整 URL。
常用请求输入
Section titled “常用请求输入”Controller 最常见的输入来源有三种:查询字符串、路径变量和 JSON 请求体。
从这里开始,示例代码默认写在前面的 UserController 里,只展示当前接口方法和必要的局部类型。
使用 @Param 注解从 URL 查询字符串提取参数值。
@RequestMapping(value = "/search", method = RequestMethod.GET)public String search(@Param("keyword") String keyword, @Param("page") Integer page) { int currentPage = page == null ? 1 : page; return "搜索: " + keyword + ", 页码: " + currentPage;}curl "http://localhost:8080/users/search?keyword=feat&page=1"搜索: feat, 页码: 1使用 @PathParam 注解从 URL 路径提取变量值。
@RequestMapping(value = "/:userId", method = RequestMethod.GET)public String getUser(@PathParam("userId") String userId) { return "用户ID: " + userId;}curl http://localhost:8080/users/12345Feat Cloud 支持两种路径参数写法:
- 冒号形式:
/:userId - 花括号形式:
/{userId}
两种写法功能等价,团队内部统一即可。如果团队来自前端路由或 Feat Core 路由体系,:id 会更自然;如果团队长期使用 Spring MVC,{id} 往往更容易迁移。
JSON 请求体
Section titled “JSON 请求体”创建和更新资源时,参数通常不会继续塞在 URL 里,而是放进 JSON 请求体。Controller 方法可以直接声明一个自定义 POJO 参数,不需要额外注解。
public class User {    private String username;    private String password;    private String role;
    public String getUsername() { return username; }    public void setUsername(String username) { this.username = username; }
    public String getPassword() { return password; }    public void setPassword(String password) { this.password = password; }
public String getRole() { return role; } public void setRole(String role) { this.role = role; }}@RequestMapping(value = "/", method = RequestMethod.POST)public String create(User user) { return "created user: " + user.getUsername();}请求时带上 Content-Type: application/json:
curl -X POST http://localhost:8080/users/ \ -H 'Content-Type: application/json' \ -d '{"username":"Bob","password":"123456","role":"admin"}'进入正式业务接口后,常见做法是用路径表达资源位置,用请求体承载要创建或更新的数据。
HTTP 方法与 REST 风格
Section titled “HTTP 方法与 REST 风格”RequestMethod 覆盖常见 HTTP 方法:
public enum RequestMethod { GET, HEAD, POST, PUT, PATCH, DELETE, OPTIONS, TRACE}为同一路径配置不同方法:
@RequestMapping(value = "/", method = RequestMethod.GET)public String list() {    return "list all users";}
@RequestMapping(value = "/", method = RequestMethod.POST)public String create(User user) {    return "created user: " + user.getUsername();}
@RequestMapping(value = "/:id", method = RequestMethod.GET)public String get(@PathParam("id") String id) {    return "get user: " + id;}
@RequestMapping(value = "/:id", method = RequestMethod.PUT)public String update(@PathParam("id") String id, User user) {    return "updated user " + id + " to " + user.getUsername();}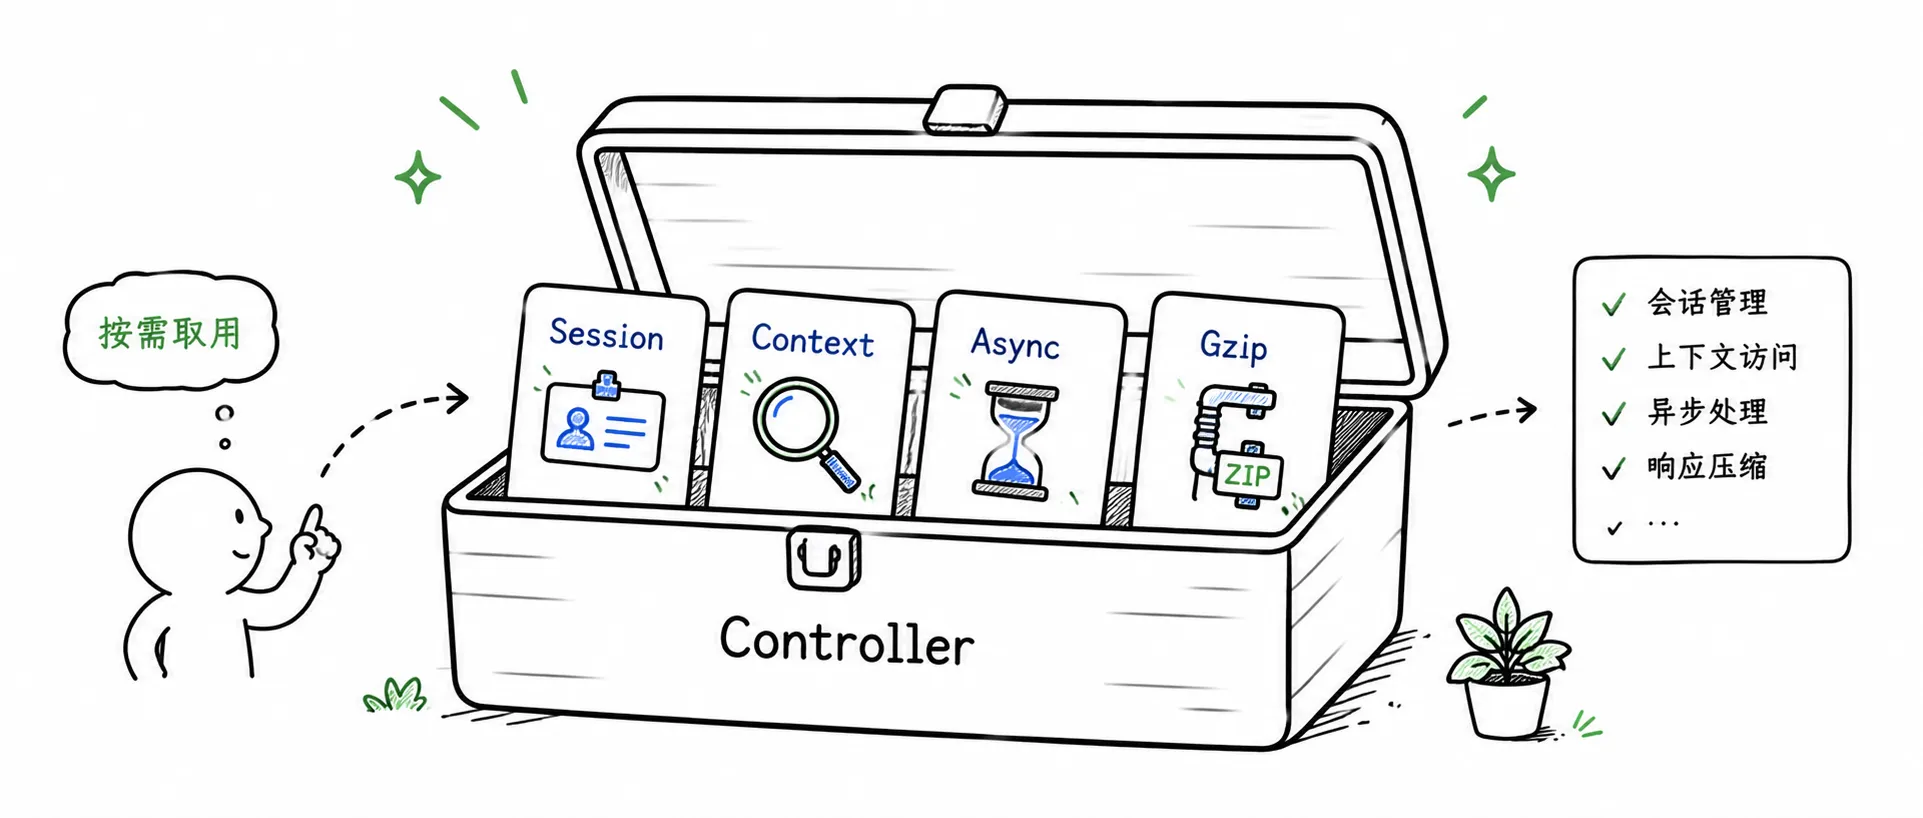
@RequestMapping(value = "/:id", method = RequestMethod.DELETE)public String delete(@PathParam("id") String id) { return "deleted user: " + id;}大部分接口只需要 @RequestMapping、@Param、@PathParam 和请求体绑定。遇到下面这些场景时,再使用更靠近运行时的能力。
这部分不是日常接口的起点,更像工具箱:只有当普通参数绑定不够用时,再取对应能力。
注入 Context
Section titled “注入 Context”需要直接读取请求头、设置响应头或访问完整 URI 时,注入 Context。
import tech.smartboot.feat.router.Context;
@RequestMapping(value = "/context", method = RequestMethod.GET)public String context(Context context) { String uri = context.Request.getRequestURI(); String method = context.Request.getMethod(); return "URI: " + uri + ", Method: " + method;}当方法内部需要调用远程服务或执行耗时操作时,可以返回 AsyncResponse,避免阻塞 Feat 的工作线程。
import tech.smartboot.feat.cloud.AsyncResponse;import tech.smartboot.feat.cloud.RestResult;import java.util.concurrent.CompletableFuture;
@RequestMapping(value = "/async", method = RequestMethod.GET)public AsyncResponse async() {    AsyncResponse response = new AsyncResponse();
    CompletableFuture.runAsync(() -> {        try {            Thread.sleep(1000);            response.complete(RestResult.ok("异步响应完成"));        } catch (InterruptedException e) {            response.complete(RestResult.fail(e.getMessage()));        }    });
    return response;}
生产环境请把 CompletableFuture.runAsync 换成自定义线程池,避免占满 common pool。
Gzip 压缩
Section titled “Gzip 压缩”在 @Controller 上开启 Gzip,可以压缩返回的大段文本或 JSON。默认阈值是 256 字节,低于该值的响应不会压缩。
import tech.smartboot.feat.cloud.annotation.Controller;
@Controller(    value = "api",    gzip = true,    gzipThreshold = 256)public class ApiController {
    @RequestMapping(value = "/large", method = RequestMethod.GET)    public String largeResponse() {        return "这是一段很长的文本内容,重复多次使其超过 256 字节。".repeat(10);    }}
可以用带 Accept-Encoding: gzip 的请求验证压缩效果:
curl -H "Accept-Encoding: gzip" http://localhost:8080/api/large --compressed编译期路由映射
Section titled “编译期路由映射”传统框架在运行时才去扫描类路径、解析注解、生成代理。Feat Cloud 在编译期就做完了这些事。
当你运行 mvn compile 时,feat-cloud-starter 中的注解处理器会:
- 扫描
@Controller类 - 解析
@RequestMapping的路径和方法 - 生成
CloudService实现类 - 把路由注册到
Router
带来的直接好处:调用开销接近直接方法调用、内存占用更低、启动更快,也更容易构建 Native Image。