快速开始
This content is not available in your language yet.
Feat Core 服务端适合需要直接操作 HTTP 协议、精确控制每个字节,或者希望从零开始理解 Feat 服务端模型的开发者。
如果你希望用更接近 Spring Boot 的注解式开发体验,建议从 Feat Cloud 快速开始 开始。
编写第一个应用
Section titled “编写第一个应用”你将构建一个最小的 HTTP 服务,访问 http://localhost:8080 返回 Hello Feat。
前置要求:JDK 8+、Maven 3.0+、curl 或浏览器
1. 添加依赖
Section titled “1. 添加依赖”在 pom.xml 中加入:
<dependency> <groupId>tech.smartboot.feat</groupId> <artifactId>feat-core</artifactId> <version>${feat.version}</version></dependency>2. 编写服务
Section titled “2. 编写服务”创建 HelloFeat.java:
import tech.smartboot.feat.Feat;
public class HelloFeat { public static void main(String[] args) { Feat.httpServer().listen(); }}关键点:Feat.httpServer() 创建服务,.listen() 启动监听。
3. 运行并验证
Section titled “3. 运行并验证”运行 HelloFeat.main(),访问 http://localhost:8080:
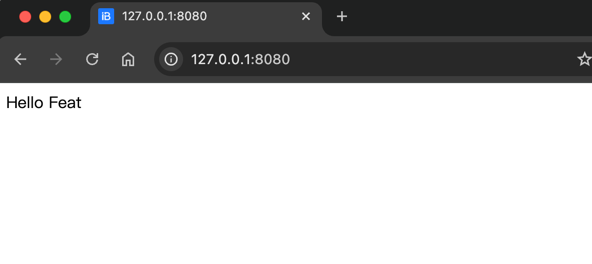
curl -i http://localhost:8080HTTP/1.1 200 OKServer: featContent-Type: text/html; charset=utf-8
Hello Feat
看到 Hello Feat 说明依赖、服务和链路都正常。
接管请求处理,返回自定义响应:
import tech.smartboot.feat.Feat;
public class HelloWorld {    public static void main(String[] args) {        Feat.httpServer()            .httpHandler(request -> request.getResponse().write("Hello World"))            .listen(8081);    }}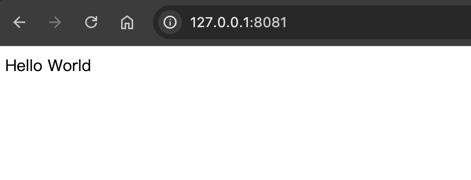
curl -i http://localhost:8081HTTP/1.1 200 OKServer: featContent-Type: text/html; charset=utf-8
Hello World
Feat Core 的模型:创建服务 → 注册处理器 → 启动监听。
下一步:配置你的服务
Section titled “下一步:配置你的服务”刚才的示例使用了默认配置(端口 8080、线程数自动等)。在实际开发中,你几乎总是需要调整这些参数:换端口、调线程、开调试、配 HTTPS…
继续阅读 ServerOptions 配置,了解如何按场景定制服务参数。