快速入门
本教程将引导你在 5 分钟内创建并运行第一个 Feat Cloud 应用。
开始之前,请确保你的环境满足以下条件:
- JDK 8 或更高版本
- Maven 3.6+
- IntelliJ IDEA(推荐)
步骤 1:创建 Maven 项目
Section titled “步骤 1:创建 Maven 项目”使用 IntelliJ IDEA 创建一个新的 Maven 项目,然后在 pom.xml 中添加 Feat Cloud 依赖:
<dependency> <groupId>tech.smartboot.feat</groupId> <artifactId>feat-cloud-starter</artifactId> <version>${feat.version}</version></dependency>步骤 2:配置 IntelliJ IDEA(可选)
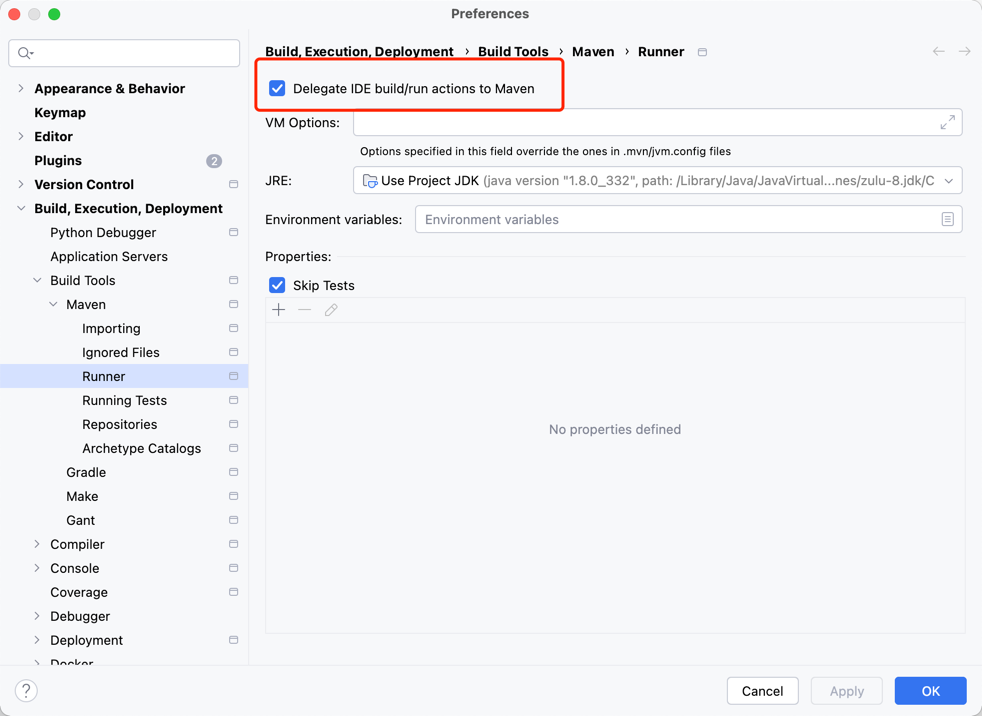
Section titled “步骤 2:配置 IntelliJ IDEA(可选)”在较旧版本的 IntelliJ IDEA 中,需要调整配置以确保 Feat Cloud 的静态优化功能正常生效。
配置步骤:
- 打开 IDEA,进入
Preferences - 导航到
Build, Execution, Deployment -> Build Tools -> Maven -> Runner - 勾选
Delegate IDE build/run actions to Maven - 点击
OK保存配置
步骤 3:编写启动类
Section titled “步骤 3:编写启动类”在 src/main/java 目录下创建 Bootstrap.java 文件:
@Controllerpublic class Bootstrap {
    @RequestMapping("/hello")    public String helloWorld() {        return "Hello, Feat Cloud!";    }
    public static void main(String[] args) {        FeatCloud.cloudServer().listen();    }}
步骤 4:运行应用
Section titled “步骤 4:运行应用”点击 IDEA 中的运行按钮,或使用快捷键运行 Bootstrap 类。
当看到控制台输出以下信息时,说明应用已成功启动:
Feat Router: |-> /hello ==> Bootstrap@helloWorld ________ ________ _ _________|_ __ | |_ __ | / \ | _ _ | | |_ \_| | |_ \_| / _ \ |_/ | | \_| | _| | _| _ / ___ \ | | _| |_ _| |__/ | _/ / \ \_ _| |_|_____| |________| |____| |____| |_____| :: Feat :: (v1.4.0)🎉Congratulations, the feat startup is successful. cost: 71mshttp://0.0.0.0:8080/这表示服务已在 8080 端口运行,/hello 路径已映射到对应的处理方法。
步骤 5:验证结果
Section titled “步骤 5:验证结果”打开浏览器,访问 http://localhost:8080/hello,页面将显示:
Hello, Feat Cloud!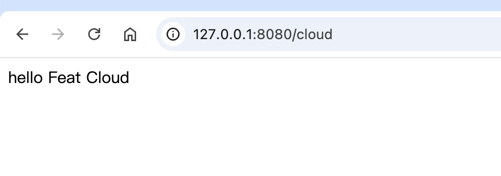
完成入门后,你可以继续学习:
- Controller 开发实践 - 深入了解控制器注解的使用
- MyBatis 集成 - 学习数据库操作
- CloudOptions 配置参考 - 了解服务配置选项
Feat Cloud 是一个 商业友好 的开源项目,企业用户需要获得授权才能在生产环境中使用。
🔐 Feat License 生成器
为 Feat 框架生成商业授权许可证
许可证编号示例:
企业:
91110000123456789X 统一社会信用代码 开源项目:
github.com/smartboot/feat 仓库地址 其他:
20241201000001 自定义编号 个人学习和测试使用完全免费。